Building a LAMP stack Application using Azure DevOps Custom Respository & Custom Agents: A Step-by-Step Guide
This comprehensive guide provides step-by-step instructions for creating a custom pipeline to build a LAMP stack application using Linux, Apache, MySQL, and PHP (LAMP) within our SCALE DevOps platform. This guide covers the entire process, from setting up the environment to deploying the application.
Getting Started
Step 1: Register Your Application
- Go to Enterprise Service Portal within ServiceNow
- Click Service Catalog
- Search for "Application Registration"
- Fill in the details and click Submit. You will receive an email confirmation with a three-letter app code
Step 2: Onboard Your Application
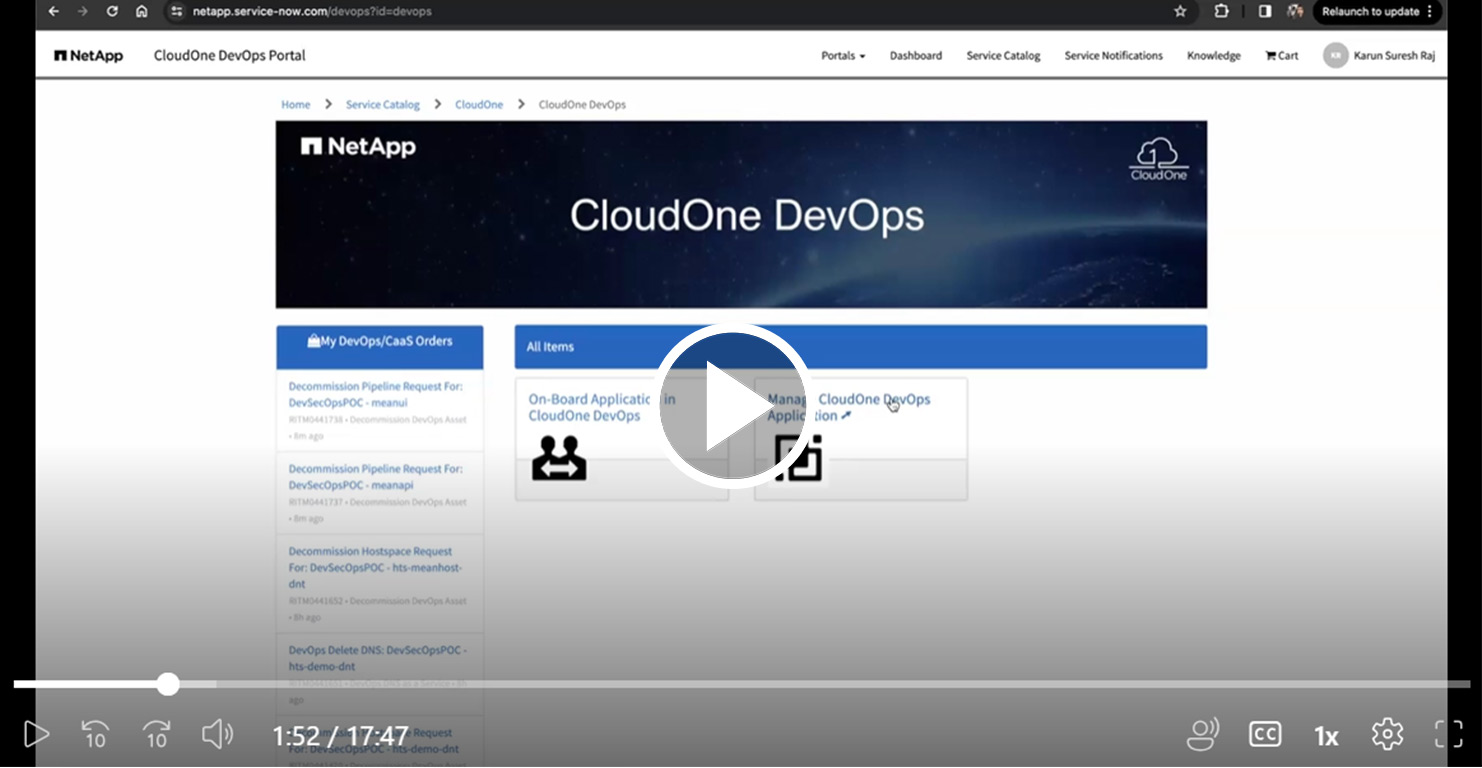
- Navigate to NetApp ServiceNow DevOps
- Click Onboard Application in CloudOne DevOps to begin the onboarding process
This process kicks off a series of automation steps, typically taking 40-45 minutes, after which you will receive an email with links to:
- Azure DevOps Project
- SelfAssist Portal
- Rancher environment
- NEAT, JFrog Artifactory, and StorageGrid
Step 3: Setting Up Your Development Environment
- Go to Azure DevOps Org and choose your project (e.g., "hts-workspace")
- Navigate to
Reposand create a new custom repo by selecting the option+ New repository - Name the repo as
custom-lamp-stack - Create a new branch
feature/test, clone it locally, and make necessary changes.
Step 4: Building the Docker Image
The next step involves creating a Custom Docker Image that contains all the necessary tools and packages required to build and run the LAMP stack application. This Custom Container will be used to execute all pipeline tasks within Custom Agent Pool.
Dockerfile for Custom Docker Image
The Dockerfile for building custom Container begins with pulling Debian as the base image and includes the following steps:
- Install essential packages such as
wget, packages required to call HTTPS, and common CA certificates - Install Docker components including
docker-ce,docker-ce-cli, andcontainerd - Ensure the Docker group exists and adds the current user to docker group
- Commit and push the changes to remote
- Run the pipeline
azure-pipelines-builder-runner.yml
Step 5: Building the LAMP Stack Application
The Appication will have PHP running on an Apache Linux-based container. This front-end service will talk to a MySQL DB that runs as a separate container.
Dockerfile for PHP App
The Dockerfile for building PHP application begins with pulling php:apache as its base image and includes the following important steps:
- Install necessary packages such as
zip,unzip, andmysqli - Install Composer, a dependency manager for PHP, and use it to install PHP dependencies listed in
composer.json - Update the port configuration from 80 to 8080
- Expose port 8080.
Dockerfile for MySQL
The Dockerfile for the MySQL service includes the following steps:
- Pull the MySQL base image
- Execute database initialization scripts to create a database, a table, and insert some data into the Users table
- Expose the MySQL service on port 3306
Application
The application is a basic "Hello World" application built using the LAMP stack (Linux, Apache, MySQL, PHP). It connects to a MySQL database, retrieves data from a database table, and displays the results on the user interface.
The azure-pipelines.yml file includes the following configurations:
- Specify the Pool as
Custom - Point to the container image created in the previous step
- Define two tasks to create the PHP and MySQL Docker images
- Push the images to JFrog Artifactory and tag them
- Commit and push the changes to remote
- Run the pipeline
azure-pipelines.yml
Step 6: Deploying the Application
Use CAAS pipeline offering to deploy the front-end and back-end images to SCALE Kubernetes platform.
Ordering CAAS pipelines and Hostspaces
- Go to ServiceNow DevOps.
- Click Manage CloudOne DevOps Application.
- Search for your three-letter APP CODE and order:
- CAAS for front-end (
caaslampapi) and back-end (caaslampdb) - Hostspaces (
lamphstandmysqlhst)
- CAAS for front-end (
Step 7: Configuration changes for Stateful Applications
Since CAAS is built to deploy stateless applications, deploying MySQL requires some tweaks:
- Replace
deployment.ymlwithstatefulset.yml - Add
secrets.ymlfor handling environment variables - Update
values.workspace.ymlandvalues.hostspace.yml
Note
Before proceeding with the changes, please note that this repository serves as a baseline for deploying MySQL. If you intend to deploy other open source databases through CAAS, additional changes may be necessary. It is recommended to collaborate with one of the SCALE team members for the required assistance.
Step 8: Managing Secrets with Azure DevOps Variable Groups
- Create a Variable Group
lampstackdb-varswith DB connection details(Check Self Assist Documentation for more details) - Within
caas-lampstack-apirepo,updateazure-pipelines.ymlandvalues.hostspace.yamlto reference Azure Variable Group variables
azure-pipelines.yml
variableGroups:
  - lampstackdb-vars
secretVarKeys:
  - mysqlServiceName
  - mysqlUserName
  - mysqlPassword
  - mysqlDatabaseName
values.hostspace.yaml
DB_HOST: "$mysqlServiceName"
DB_USERNAME: "$mysqlUserName"
DB_PASSWORD: "$mysqlPassword"
DB_NAME: "$mysqlDatabaseName"
- Within
custom-lamp-stackrepo,update the application source code to reference above envirornment variables
Update index.php to use environment variables:
$dbHost = getenv('DB_HOST') ?: 'mysql-container';
$dbUser = getenv('DB_USERNAME') ?: 'root';
$dbPassword = getenv('DB_PASSWORD') ?: 'rootpassword';
$dbName = getenv('DB_NAME') ?: 'testdb';
Step 9: Running the CAAS Pipelines
Run the CAAS pipelines and verify your application is running.
Finalizing Deployment
Step 9: Deploying to Hostspace
- Modify
azure-pipelines.ymlwithin caas-lampstackapi to comment out the workspace section and enable the hostspace section.
      acceptanceSpace: hts-lamphst-dnt
          spaces:
            # workspace:
            #   helm:
            #     overrideFiles: hts-lampstackapi/values.workspace.yaml
            hts-lamphst-dnt:
              variableGroups:
                - lampstackdb-vars
              secretVarKeys:
                - mysqlServiceName
                - mysqlUserName
                - mysqlPassword
                - mysqlDatabaseName
              helm:
                overrideFiles: |
                  hts-lampstackapi/values.hostspace.yaml
- Commit the changes and push to remote.
- Run the CAAS pipelines and verify that the application is accessible via the kong ingress URL.
Step 10: Custom Domain Setup
- Register a custom domain
- Navigate to NetApp ServiceNow DevOps.
- Click Manage CloudOne DevOps Application.
- Search for your three-letter APP CODE.
- Click DNS as a Service and enter your preferred domain name to get the DNS Record created
- Update values.hostspace.yaml
- host: lampstackdemoapp.netapp.com
- Commit your changes and push to remote.
- Run the pipeline and verify that the application is accessible via the custom URL.
Need Assistance?
If you encounter any issues or require support, don't hesitate to reach out to one of the SCALE team members. We're here to help!