CaaS: A Step-by-Step Guide
This comprehensive guide provides step-by-step instructions for building and deploying a containerized application using the CaaS application stack. New CaaS instances come pre-configured with a sample Dockerfile and application source - you replace them with your own.
If you need to deploy a pre-built container image (e.g. a vendor-supplied image) without a custom Dockerfile, see the Pre-built Image mode instructions in the CaaS documentation.
Getting Started
Step 1: Register Your Application
- Go to Enterprise Service Portal within ServiceNow.
- Click Service Catalog.
- Search for "Application Registration".
- Fill in the details and click Submit.
- You will receive an email confirmation with a three-letter app code.
Step 2: Onboard Your Application
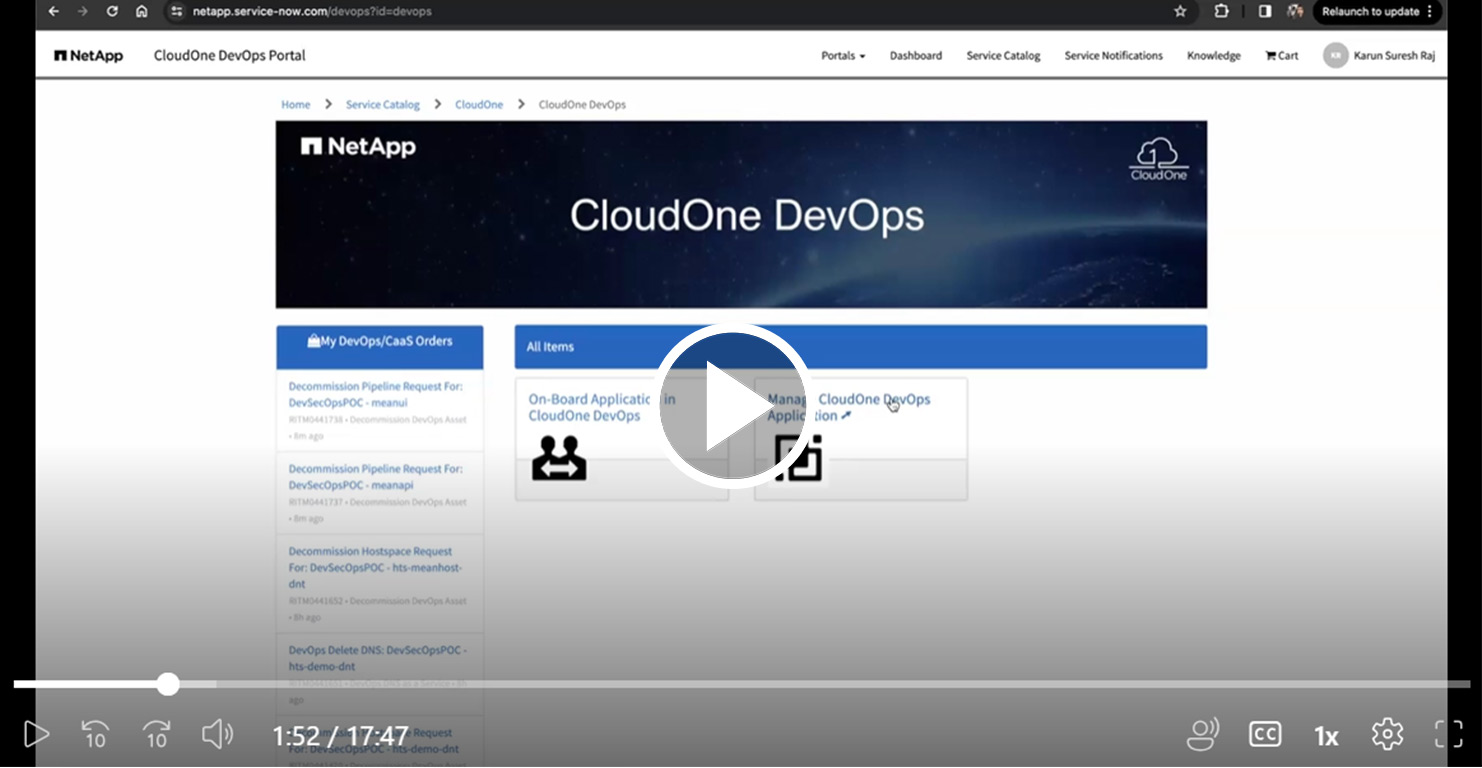
- Navigate to NetApp ServiceNow DevOps.
- Click On-Board Application in CloudOne DevOps to begin the onboarding process.
This kicks off a series of automation steps, typically taking 40-45 minutes, after which you will receive an email with links to:
- Azure DevOps Project
- SelfAssist Portal
- Rancher environment
- NEAT, JFrog Artifactory, and StorageGrid
Application Configuration
Step 3: Ordering Your App Stack
- Go to Manage CloudOne DevOps Application.
- Search for your three-letter APP CODE.
- Order the following Services -
- Pipelines: CaaS
- Hostspaces: Order one Hostspace (choose an appropriate T-Shirt Size)
Step 4: Setting Up Your Development Environment
- Go to Azure DevOps Org and choose your project
- Navigate to
Repos/Files/.- Select your CaaS repository from the drop-down.
- Create a feature branch and clone the repo locally.
Your repository will contain a working sample application with:
- Dockerfile - A sample Nginx-based container build. Replace this with your own Dockerfile.
- source/ - Sample application source files. Replace with your own application code.
- dxp-caas/ - Helm chart directory for Kubernetes deployment configuration.
- azure-pipelines.yml - Pre-configured pipeline definition.
Step 5: Customizing Your Application
Replace the Dockerfile
Replace the sample Dockerfile at the root of the repository with your own. Keep the following requirements in mind:
- Use NetApp's Artifactory as your base image source. Instead of pulling directly from Docker Hub (e.g.
alpine:latest), use the Artifactory mirror:docker-ngdc.artifactory.devops.netapp.com/alpine:latest - Run as a non-root user. The Rancher environment enforces that applications run as a non-root user.
- Expose the correct port. Update the
service.portvalue indxp-caas/values.yamlto match the port your container exposes.
Replace the Source Code
Replace the contents of source/ (or restructure entirely) with your application's source code. Update your Dockerfile's COPY instructions accordingly.
Update the Helm Chart
Update dxp-caas/values.yaml to match your application's requirements:
- Resource limits and requests
- Replica count
- Service port and connection name
- Liveness and readiness probes
Setting Up DB (optional - only if using a database provisioned via SCALE)
- Create your connection string using the database credentials available in the Rancher UI
- Securely manage connection string, username and password as
variableswithin Azure DevOpsVariable Groups(Check Self Assist Documentation for more details) - Update
azure-pipelines.ymlandvalues.hostspace.yamlfiles to reference the environment variables
azure-pipelines.yml
   variableGroups:
      - db_vars
   secretVarKeys:
      - dburl
      - uname
      - pass
values.hostspace.yaml
   env_vars:
   - name: "primary"
   configs:
         MYSQL_URL: "$dburl"
         MYSQL_USER: "$uname"
         MYSQL_PASS: "$pass"
Adjust Liveness and Readiness Probes
Update values.yaml liveness and readiness probes to ensure proper delay is allocated for the application to come up:
livenessProbe:
  failureThreshold: 3
  httpGet:
    path: /
    port: caas
    scheme: HTTP
  initialDelaySeconds: 90
  periodSeconds: 10
  successThreshold: 1
  timeoutSeconds: 1

readinessProbe:
  failureThreshold: 3
  httpGet:
    path: /
    port: caas
    scheme: HTTP
  initialDelaySeconds: 90
  periodSeconds: 10
  successThreshold: 1
  timeoutSeconds: 1
Set the Application Version
Update appVersion in azure-pipelines.yml to your desired version:
extends:
  template: devops/caas.yml@spaces
  parameters:
    appVersion: 1.0.0
Finalizing Deployment
Step 6: Deploying to Hostspace
- Modify
azure-pipelines.ymlto comment out the workspace section and enable the hostspace section.
    acceptanceSpace: hts-caashost-dnt
    spaces:
      # workspace:
      #   helm:
      #     overrideFiles: hts-caasdemo/values.workspace.yaml
      hts-caashost-dnt:
        variableGroups:
          - mariadb_vars
        secretVarKeys:
          - dburl
          - uname
          - pass
        helm:
          overrideFiles: |
            hts-caasdemo/values.hostspace.yaml
- Commit the changes and push to remote.
- Run the pipeline and verify that the application is accessible via the kong ingress URL.
Step 7: Custom Domain Setup
- Register a custom domain
- Navigate to NetApp ServiceNow DevOps.
- Click Manage CloudOne DevOps Application.
- Search for your three-letter APP CODE.
- Click DNS as a Service and enter your preferred domain name to get the DNS Record created
- Update
values.hostspace.yamlwith your custom domain.
   ingressEndpoints:
   - host: caasdemoapp.netapp.com
- Commit your changes and push to remote.
- Run the pipeline and verify that the application is accessible via the custom URL.
Need Assistance?
If you encounter any issues or require support, don't hesitate to reach out to one of the SCALE team members. We're here to help!